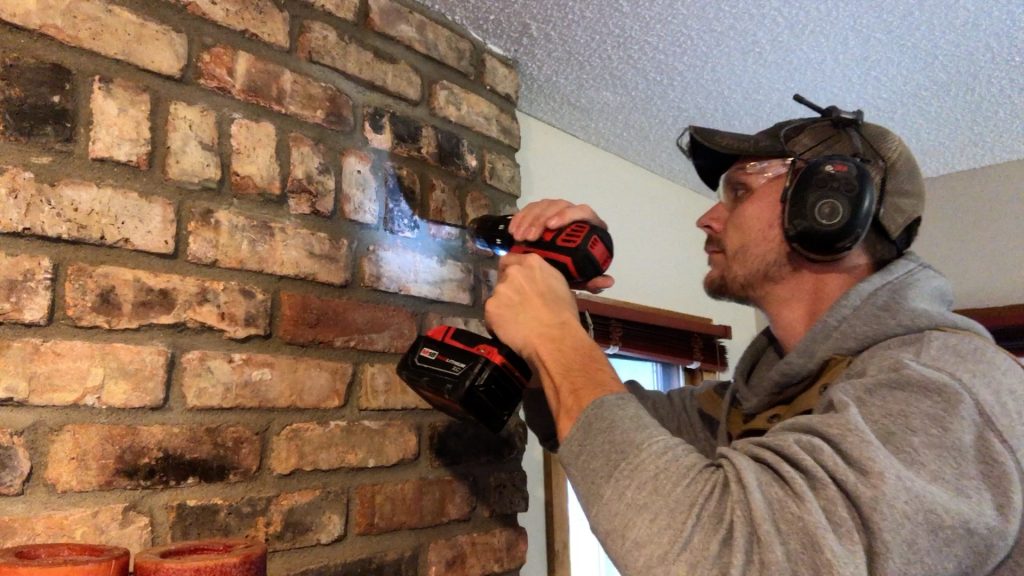
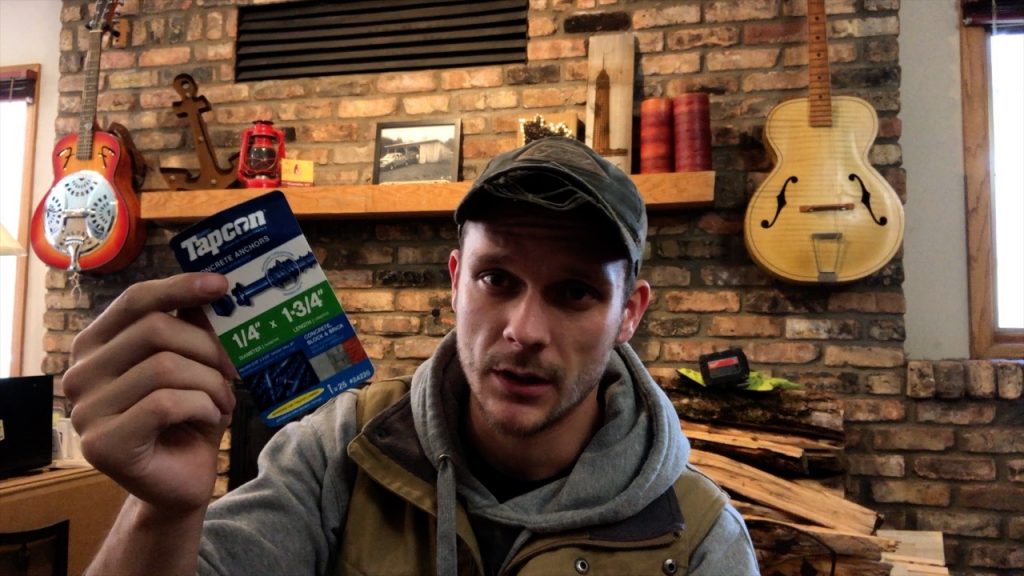
Tapcons are a great light-duty way to fasten to concrete and masonry products. They are accessible to most homeowners and DIY’ers because they are easy to use and only require having; a drill with a hammer setting, an impact driver and a masonry drill bit.


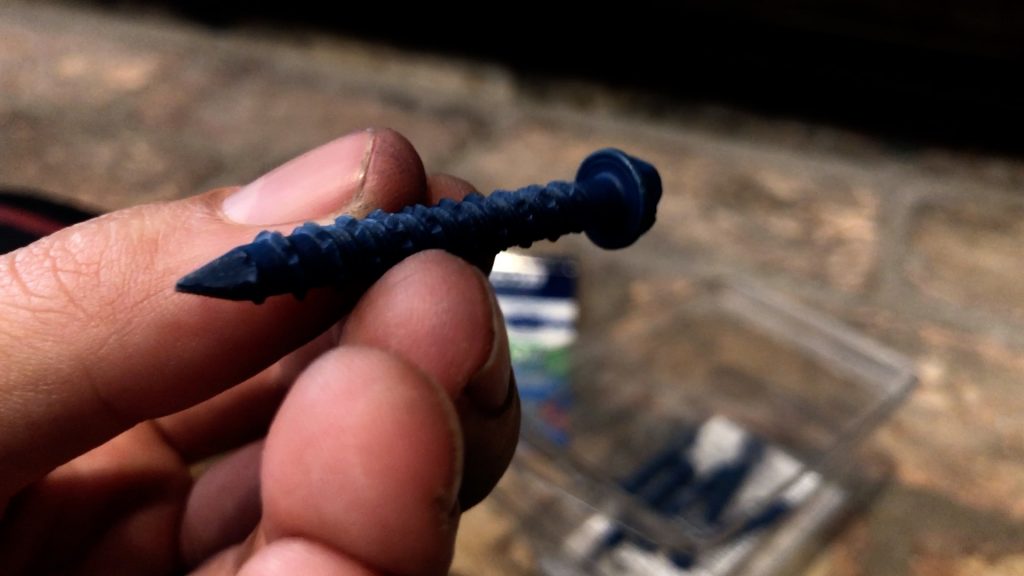
The hole needs to be slightly smaller than the diameter of the fastener so that the threads of the Tapcon have something to grab into. If the masonry bit you use is too small you won’t be able to drive the Tapcon in at all. If the masonry bit is too large, the Tapcon will not hold.
You can find out which sized masonry bit to use by looking at the Tapcon packaging. Based on the diameter of the fastener you have, the masonry bit size will be indicated on the box.
This is similar to using the wrong diameter bit. When drilling out the hole for the Tapcon you will need to keep a steady hand. If you “wobble” the bit side to side as you drill you’ll effectively make the hole wider and the fastener won’t be able to hold the load.
To avoid this drill your hole at a consistent angle and stay steady. Drill quickly and use a sharp masonry bit.
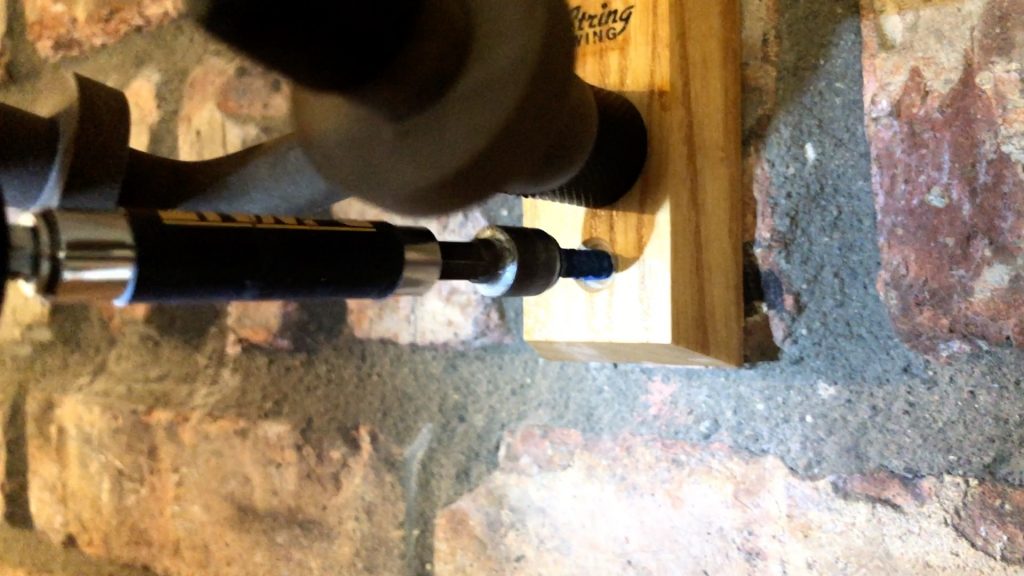
You want to snug the fastener up so that it holds, however, you don’t want to over-tighten it. This can be fairly easy to do when you’re using an impact driver. Over tightening/driving can result in the threads of the Tapcon being worn down as they spin against the concrete, some of the concrete will also be ground away. The result is a fastener that won’t hold, just like over boring the whole with the masonry bit.
So remember, snug it up, but don’t over tighten.
This is by far the most common problem people will face when using Tapcons.
This can happen for a few reasons. Typically what happens is that as you drive the Tapcon in some of the residual concrete dust is left in the whole from drilling. This dust compacts at the bottom of the hole not allowing for the Tapcon to be driven in fully.
Here are some tips to avoid this:
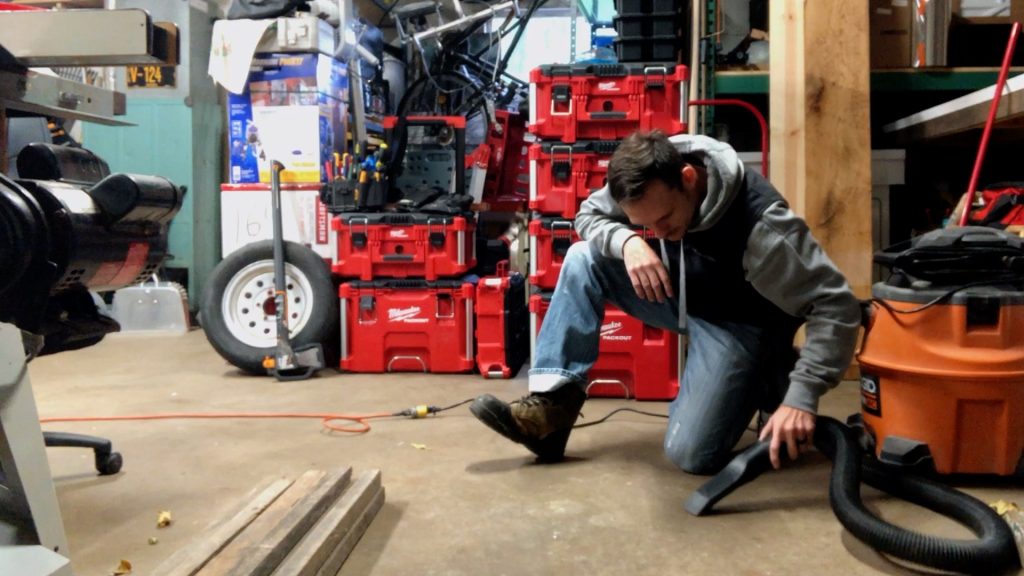
With that, may you avoid these common mistakes and may your Tapcons forever hold strong.